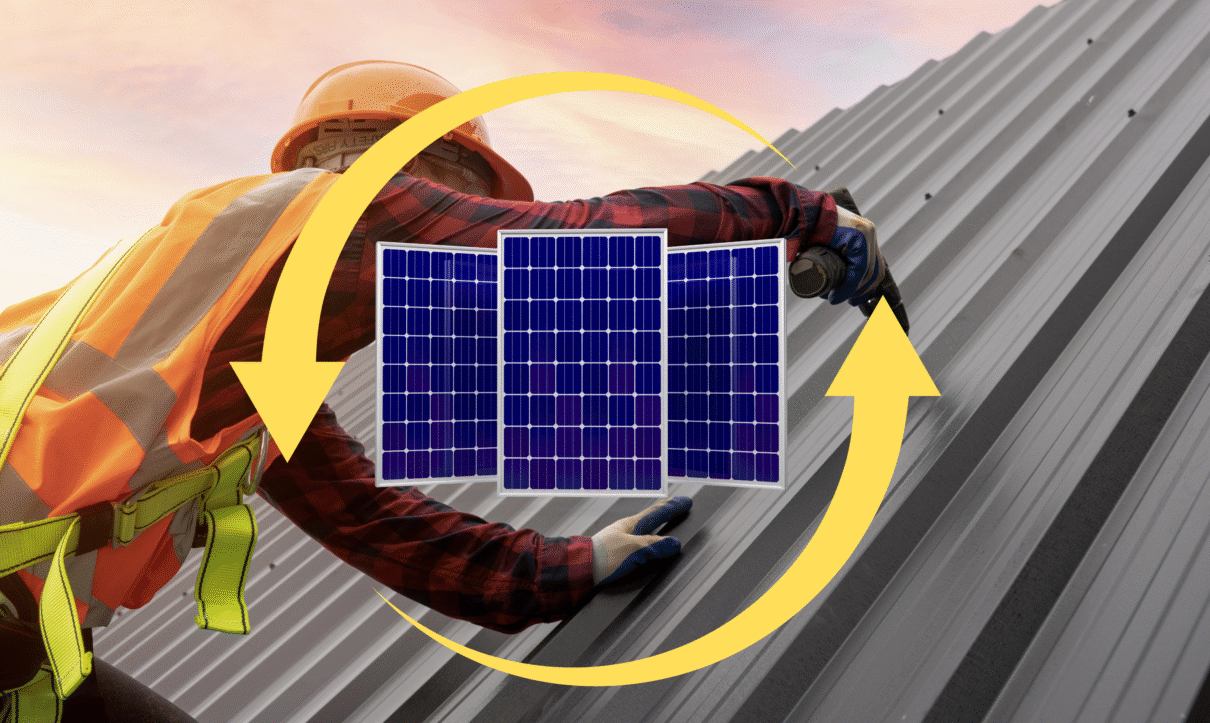
Remove and Reinstall Solar Panels: From Shingle Roof to Metal Roof
Remove and Reinstall Solar Panels: From Shingle Roof to Metal Roof is not just about moving panels from one surface to another. It’s a complete process that requires specialized parts, technical knowledge, and strict attention to detail to ensure both your roof and your solar system remain fully protected.
When you upgrade from shingles to metal roofing, your solar panels must be carefully detached, stored, and then reinstalled with a brand-new mounting system designed specifically for metal roofs. This is not optional—without new hardware, the system won’t align correctly, leaks may occur, and warranties could be voided.
Why You Can’t Reuse Shingle Mounting Hardware
Shingle mounts use flashing-based attachments with waterproof seals designed for asphalt roofs. These mounts rely on nails or lag bolts with flashing that works under overlapping shingles. Metal roofing, however, has a completely different structure: flat panels, seams, or ridges, with no overlap to hide flashing.
- Leaks and water damage: shingle flashing does not adapt to smooth metal surfaces.
- Misalignment: the geometry of metal roofs requires different bracket heights and spacing.
- Safety and warranty risks: manufacturers require approved hardware; reusing shingle parts can void roof and solar warranties.
Because of these differences, switching to metal automatically requires replacing the entire solar racking and mounting system.
Two Types of Metal Roof Solar Mounting
1) Penetration-Based Metal Roof Systems
- Use brackets that are fastened directly into the roof structure.
- Require high-grade gaskets and flashing to remain watertight.
- Strong and versatile, but penetrations must be perfectly sealed to avoid leaks.
2) Standing Seam Clamp Systems (No Holes)
- Use specialized seam clamps—such as S-5! metal roof clamps—that grip raised seams.
- No drilling or penetrations required (highly watertight and roof-friendly).
- Often the recommended choice for standing seam metal roofs due to longevity and clean aesthetics.
Example: Parts Needed for a 6 kW Solar System on a Metal Roof
Below is a representative parts list for reinstalling a typical 6 kW array on metal roofing, modeled from a SUNMO Metal Seam configuration [oai_citation:0‡SUNMO METAL SEAM.PDF](file-service://file-LkEvSbDfcvsFQ9QDtEb7tK):
- SMR100 Rails (168″) — structural rails that support the solar panels
- Rail Splices (SMR100) — connectors to join multiple rail sections
- Mid Clamps (SMR Pop-On, Black) — secure panels between modules in a row
- End Clamps (SMR Pop-On, Black) — secure the outer edges of panels
- Ground Lug Kits (SMR) — required for bonding and grounding
- End Caps (SMR100 EPDM, Black) — seal and protect rail ends
- L-Foot Adaptors (SMR100, Black) — adapt rails to roof attachments
- Slotted L-Feet (Mill Finish) — adjustable feet for alignment and level
- S-5-N Metal Roof Clamps — seam clamps for standing seam installations
Note: Part counts vary by array layout, module dimensions, rail spans, and structural/engineering requirements.
The Step-by-Step Service Process
- System shutdown: safely power down PV and isolate circuits.
- Panel removal: detach, label, and store modules to protect glass and frames.
- Old hardware removal: remove shingle mounts, flashing, and rails; weatherproof as needed.
- Roof work: roofing contractor installs the new metal roof panels.
- New mounting installation: install penetration mounts or standing seam clamps per the roof type and engineering.
- Panel reinstallation: mount, align, and secure modules with new rails, mid clamps, and end clamps.
- Electrical reconnections: wire management, bonding/grounding, continuity checks, and labeling.
- System testing: torque verification, insulation resistance, voltage/current checks, and final production test.
External Reference
For additional technical background on clamp-based metal roof systems, see S-5! Metal Roof Clamps.
Conclusion: What Homeowners Should Expect
Switching from shingles to a metal roof with existing solar is a significant upgrade that demands the right plan and hardware. The key points are simple:
- All solar mounting hardware must be replaced to match the new roof.
- Your metal roof type dictates the attachment method—penetration mounts or standing seam clamps.
- A professional remove-and-reinstall protects roof integrity, electrical safety, and warranty compliance.
By hiring a certified solar contractor experienced with metal roofs, you’ll protect your new roof and your solar investment for years to come. With proper parts and installation, your system will run as reliably as before—now on a roof built to last.


